 United States
Priming Vape Coils: Why It’s Essential for Better Flavor and Performance
For adults 21+ only. Vape devices and nicotine products are not risk-free. Always follow the instructions supplied with your specific device, tank, pod, and replacement coil. Priming procedures can vary between coil systems.
Installing a new vape coil involves more than fitting it into the tank and filling it with e-liquid. For wick-based replacement coils, the wicking material needs enough time to absorb e-liquid before the coil is activated normally.
This process is commonly called priming a vape coil. Proper saturation helps reduce the chance of an immediate dry or burnt hit caused by heating a wick that has not absorbed enough e-liquid.
This guide explains how to prime a vape coil, what to check before starting, common priming mistakes, and when priming cannot fix an already damaged coil.
What Does Priming a Vape Coil Mean?
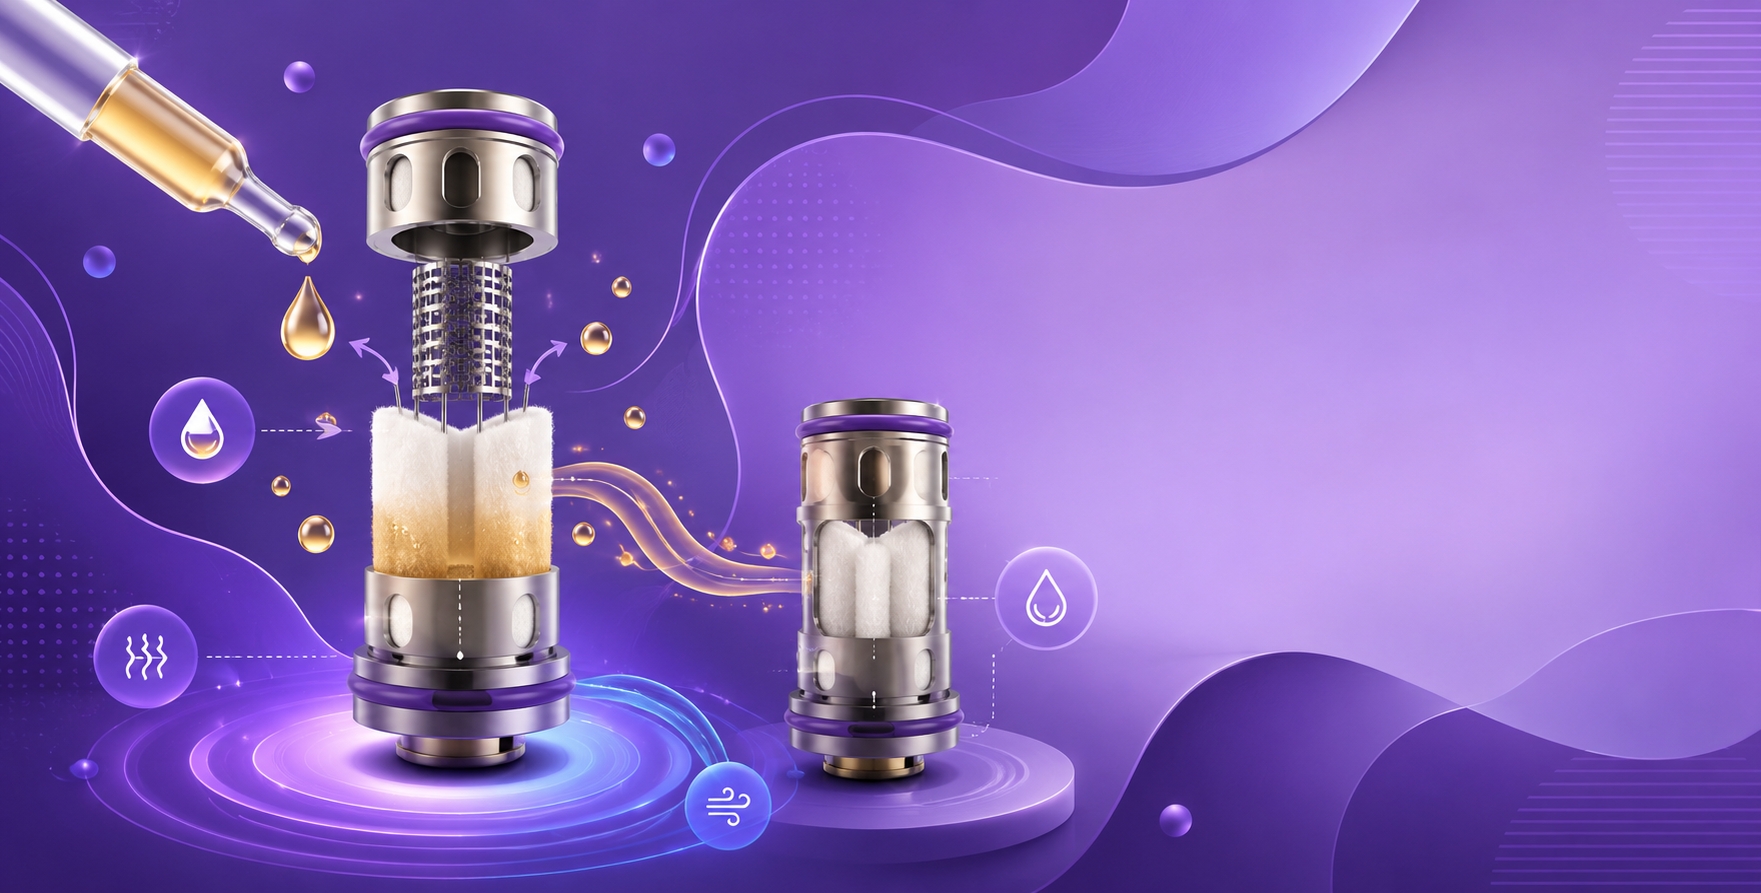
Priming means allowing the wicking material inside a new coil to become sufficiently saturated with e-liquid before normal operation.
Many replaceable coils contain absorbent wicking material surrounding or contacting the heating element. Once the tank or pod is filled, e-liquid moves into that wick so it can reach the heating element during use.
If the heating element is activated before enough liquid reaches the wick, the wick can become excessively hot and produce a dry or burnt taste.
When Does a Vape Coil Need Priming?
Priming generally applies when installing a new wick-based replaceable coil or another replaceable component for which the manufacturer specifies an initial saturation period.
Not every vape product uses the same coil design or installation procedure. Some pods contain integrated coils, while other systems use removable coil heads. Follow the instructions for the exact hardware rather than assuming every coil should be prepared in the same way.
Before Priming: Check Coil Compatibility
Before adding e-liquid, confirm that the replacement coil is actually compatible with the device, tank, or pod.
Check the:
- Exact device or tank model
- Compatible coil family
- Coil resistance
- Manufacturer's recommended operating range
- Installation orientation or connection method
Priming cannot correct an incompatible coil. If you are still deciding which replacement coil your hardware requires, choosing the right vape coil should come before the priming process.
How to Prime a Vape Coil Step by Step
The exact procedure varies by manufacturer, so use the following as general guidance and defer to the instructions supplied with your coil and device.
Step 1: Inspect the New Coil
Before installation, check the coil for visible damage and confirm that it matches the coil family specified for your tank or device.
Do not install a damaged coil or force a replacement coil into hardware it does not fit correctly.
Step 2: Saturate Exposed Wicking Material if Recommended
Some replaceable coil heads have visible cotton or other wicking material through their openings. When the manufacturer recommends direct priming, apply e-liquid to the exposed wick according to those instructions.
The goal is to begin wetting the wick—not to flood the center airflow path or oversaturate the entire coil assembly.
Step 3: Install the Coil Correctly
Install the coil into the tank, pod, or base using the method specified by the manufacturer. Depending on the design, the coil may screw into place, press into a chamber, or already be integrated into the pod.
Make sure the component is seated correctly before filling the reservoir.
Step 4: Fill the Tank or Pod
Fill the reservoir according to its instructions without exceeding its specified fill level. Once filled, e-liquid can continue moving into the coil's wicking material.
Step 5: Allow the Wick to Saturate
Give the newly installed wick sufficient time to absorb e-liquid before normal use. Rather than relying on one universal waiting time for every coil, follow the saturation period recommended by the coil or device manufacturer.
Larger or more absorbent wicks may behave differently from smaller pod coils, which is why manufacturer-specific instructions should take priority over a fixed number of minutes.
Step 6: Check the Recommended Power Range
If the device allows wattage adjustment, confirm the operating range printed on the coil, packaging, manual, or manufacturer's documentation before activating it.
Do not assume the setting used with the previous coil is automatically appropriate for the new one, especially when changing resistance or coil variants.
Step 7: Begin Normal Operation According to the Manufacturer's Instructions
Once the wick has had the recommended time to saturate, begin using the device according to its instructions and the supported operating range of the installed coil.
If the first draw tastes unusually dry or burnt, stop using the device and check saturation, e-liquid level, coil installation, and power settings before continuing.
Should You Take Unpowered Puffs to Prime a Coil?
Some users refer to drawing through a filled tank without activating the device as a way to encourage liquid toward the wick. However, this should not be treated as a universal priming requirement.
Different coil and airflow systems behave differently, and excessive drawing can contribute to flooding in some setups. Use this technique only when it is appropriate for the particular hardware or recommended by its manufacturer.
Should You Preheat a New Vape Coil?
Do not treat firing or preheating the coil as a substitute for saturation. Activating a wick-based coil before sufficient e-liquid has reached the wick is exactly what proper priming is intended to avoid.
If a device has a manufacturer-defined preheat feature, use it only according to the device instructions and after completing the required saturation process.
Common Vape Coil Priming Mistakes
Not Waiting for the Wick to Saturate
Installing a coil, filling the tank, and immediately activating the device may leave parts of the wick insufficiently saturated. Follow the recommended waiting or saturation procedure before normal use.
Using the Wrong Coil
Resistance alone does not determine compatibility. Similar-looking coils can belong to different product families or require different operating ranges.
Flooding the Coil During Direct Priming
Applying excessive e-liquid directly into the center airflow path can contribute to flooding or gurgling. When direct saturation is recommended, target the exposed wicking material rather than simply filling the coil with liquid.
Using an Incorrect Power Setting
An adjustable device should be operated within the range specified for the installed coil. A setting appropriate for another resistance or coil variant may not be appropriate for the new one.
Assuming Priming Can Restore a Burnt Coil
Priming is primarily a preparation step for a new coil. If the wick has already been damaged and a persistent burnt taste remains after checking liquid level, saturation, installation, and settings, adding more e-liquid may not restore it.
How Do You Know if a Coil Is Properly Primed?
There is no single visual test that applies to every coil design. A properly prepared coil should have received the saturation process specified for the hardware and should operate normally within its recommended settings.
Stop and recheck the setup if you experience:
- An immediate dry or burnt taste
- Unusual overheating around the tank or pod
- Persistent gurgling or flooding
- Leaking after coil installation
- A device error or abnormal resistance reading
These symptoms do not always mean the coil was primed incorrectly. Compatibility, installation, seals, power settings, device condition, and other factors can also be involved.
Priming vs. Coil Maintenance
Priming and maintenance are related, but they answer different questions.
- Priming prepares a new wick-based coil before its first normal use.
- Maintenance concerns how the installed coil is treated and monitored during its usable life.
- Replacement becomes necessary when a consumable coil deteriorates or can no longer operate normally.
Once the initial priming process is complete, ongoing vape coil maintenance becomes the relevant part of coil care.
What if a Newly Primed Coil Still Tastes Burnt?
A burnt taste immediately after installing a new coil does not automatically mean it needs more e-liquid. Stop using the device and check:
- Whether the coil is compatible with the hardware
- Whether the wick had enough time to saturate
- Whether sufficient e-liquid remains in the tank or pod
- Whether the coil is installed correctly
- Whether the device is operating within the coil's supported power range
If the wick has already been scorched, continuing to use or repeatedly re-saturate the coil may not correct the burnt taste. Replacement may be necessary.
Final Thoughts
Priming a vape coil is a preparation step: the goal is to ensure that a new wick-based coil has absorbed enough e-liquid before normal operation begins.
Start by confirming compatibility, follow the manufacturer's saturation procedure, install and fill the hardware correctly, allow the wick the recommended time to absorb e-liquid, and operate the coil only within its supported settings.
Once the coil is in regular use, maintenance and eventual replacement become separate parts of coil care rather than reasons to repeatedly re-prime the same coil.
Always follow the instructions supplied with your specific coil, tank, pod, and device. Stop using damaged hardware or a coil that continues to produce abnormal heat, errors, or a persistent burnt taste after basic setup checks.