 United States
How to Maintain Vape Coils: Replacement Tips for Peak Performance
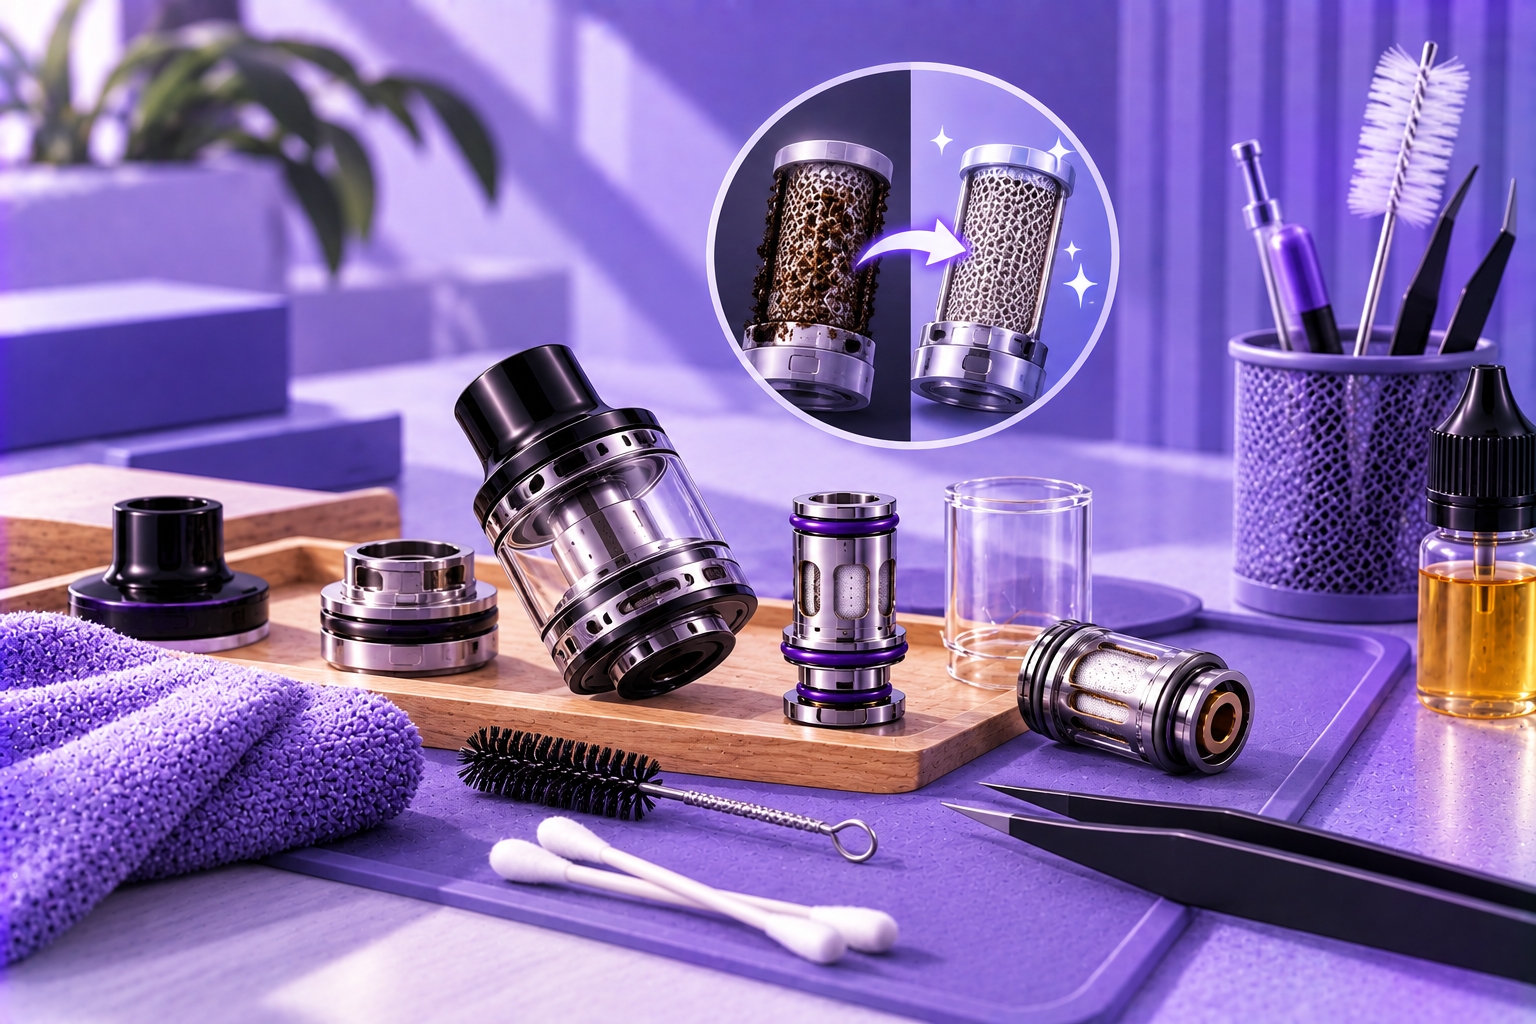
For adults 21+ only. Vape devices and nicotine products are not risk-free. Follow the manufacturer's instructions for compatible coils, recommended power settings, installation, maintenance, and replacement.
Vape coils are consumable components. Even when the correct coil is installed, its performance can change as the wick and heating element are repeatedly exposed to e-liquid and heat.
This guide focuses specifically on how to maintain vape coils during normal use, which habits can reduce avoidable coil problems, how to recognize deterioration, and when replacing the coil makes more sense than continuing to use it.
What Vape Coil Maintenance Actually Means
Coil maintenance does not mean making a consumable coil last indefinitely. Instead, it means operating the coil within the conditions specified for it, keeping the surrounding hardware in good condition, watching for performance changes, and replacing the coil when it reaches the end of its usable service life.
A maintenance routine should therefore focus on:
- Using the manufacturer's recommended power range
- Keeping sufficient e-liquid available to the wick
- Watching for residue and contamination around the tank or pod
- Checking for leaks or installation problems
- Monitoring changes in flavor and vapor production
- Replacing the coil when performance no longer recovers
1. Stay Within the Coil's Recommended Power Range
Replaceable coils are commonly supplied with a manufacturer-specified operating range. Using the coil within that range is an important part of normal maintenance.
A setting that is appropriate for one coil may not be appropriate for another, even when both fit the same tank. Check the specifications whenever changing resistance or coil variants instead of carrying over the previous setting automatically.
2. Keep the Wick Supplied With E-Liquid
A wick needs sufficient e-liquid available during operation. Continuing to fire a coil when the liquid supply is too low or the wick cannot replenish quickly enough can produce a dry or burnt taste.
Keep the tank or pod filled according to its design and avoid operating it when the liquid level is below what the manufacturer recommends.
3. Give the Wick Time to Resaturate
Repeated activation in rapid succession can use e-liquid from the wick faster than it is replenished in some setups. If flavor suddenly becomes dry or unusually hot during repeated use, allow the wick time to resaturate rather than continuing to fire the device.
This is different from priming a new coil. Priming is part of preparing a newly installed coil before normal use, while maintenance concerns how the coil is treated after that initial setup.
4. Keep the Tank, Pod, and Connections Clean
Not every performance problem originates inside the coil itself. E-liquid residue around the tank, pod, airflow path, or device connection can contribute to poor contact, mess, or inconsistent operation.
Routine cleaning should therefore focus on the serviceable parts identified by the manufacturer. Wipe accessible connection areas and clean reusable tank or pod components according to their instructions.
Detailed coil cleaning should be treated separately from everyday maintenance because not every replaceable coil is designed to be washed, soaked, or reused after cleaning.
5. Watch for E-Liquid Residue and Coil Gunk
Residue can accumulate on the heating element and wick during use. The rate of buildup varies with the coil, power level, e-liquid formulation, and usage pattern.
Increasing discoloration, reduced flavor clarity, or declining vapor production can accompany buildup, but these symptoms should be evaluated together rather than assuming every performance change is caused by coil gunk.
6. Check Coil Installation When Problems Appear
A poorly seated or incorrectly installed coil can sometimes resemble a worn coil. If leaking, gurgling, poor contact, or an error appears soon after installation, check that the coil is the correct compatible model and is installed according to the manufacturer's instructions.
Also inspect accessible seals and surrounding components. A leaking tank, for example, can involve seals, filling technique, hardware damage, or installation rather than coil age alone.
How Long Does a Vape Coil Last?
There is no universal replacement interval that applies to every vape coil. Coil service life varies according to the coil design, operating power, e-liquid, frequency of use, and other conditions.
For that reason, replacing a coil strictly according to a fixed number of days can be misleading. Its condition and performance provide more useful information than the calendar alone.
Signs a Vape Coil May Need Replacement
A coil may be approaching the end of its usable life when one or more persistent symptoms develop.
Persistent Burnt Taste
A burnt taste that continues after checking e-liquid level, saturation, and appropriate power settings can indicate that the wick or coil has been damaged.
Noticeable Loss of Flavor
A substantial and persistent decline in flavor can accompany coil deterioration or residue buildup. First rule out obvious setup problems before replacing the coil.
Reduced Vapor Production
If vapor output falls noticeably while the device, battery, airflow, and power settings remain otherwise normal, the coil may be deteriorating.
Visible Buildup or Wick Deterioration
When the design allows safe inspection, heavy residue or visibly deteriorated wicking can support the decision to replace the coil rather than continue using it.
Problems That Continue After Basic Checks
Persistent gurgling, flooding, leaking, or inconsistent performance can involve the coil, but these symptoms can also originate elsewhere in the tank or pod. Check installation, seals, liquid level, compatibility, and device condition before assuming replacement will solve the problem.
When Should You Replace a Vape Coil?
Replace the coil when deterioration is persistent and basic maintenance or setup checks do not restore normal operation. A damaged or burnt wick generally cannot be returned to its original condition simply by adjusting settings.
Replacement may also be appropriate when:
- A persistent burnt taste remains during normal operation
- Performance has substantially declined
- The coil or wick shows significant deterioration
- The coil is damaged or cannot be installed securely
- The manufacturer specifies replacement based on a particular condition
How to Replace a Vape Coil
The exact replacement procedure varies by tank, pod, and coil system, so the manufacturer's instructions for the specific hardware should take priority. A typical replaceable-coil process involves:
- Turn off the device when applicable.
- Open or disassemble the tank according to its design.
- Remove the old coil.
- Inspect the tank, seals, and connection area for residue or damage.
- Install the correct compatible replacement coil.
- Reassemble and refill the tank as required.
- Prepare the new coil according to the manufacturer's saturation or priming instructions before normal use.
Do not force a coil that does not fit correctly. Similar-looking coils are not necessarily interchangeable.
Maintenance vs. Cleaning vs. Priming
These terms describe related but different parts of coil care:
- Maintenance covers routine operating habits, inspections, performance monitoring, and deciding when replacement is necessary.
- Cleaning concerns removing residue from components that are designed to be cleaned.
- Priming prepares a new wick-based coil for its first normal use.
- Replacement removes a deteriorated coil and installs a compatible new one.
Keeping these tasks separate helps prevent a maintenance guide from duplicating dedicated cleaning and priming instructions.
Choosing a Replacement Coil
When replacement becomes necessary, do not choose the next coil based only on resistance or desired performance. The replacement must first be compatible with the exact device or tank.
Factors such as resistance, recommended wattage, airflow, and intended draw style become useful after compatibility has been established. Our guide to choosing the right vape coil covers that selection process separately.
Coil Maintenance Checklist
- Use a coil specifically compatible with the device or tank.
- Operate within the manufacturer's recommended settings.
- Maintain sufficient e-liquid around the wick.
- Allow the wick to resaturate when necessary.
- Keep serviceable tank, pod, and connection areas clean.
- Inspect seals and installation when leaking or gurgling occurs.
- Monitor persistent changes in flavor and vapor production.
- Replace a deteriorated coil instead of trying to extend its use indefinitely.
Final Thoughts
Good vape coil maintenance is less about following a fixed replacement schedule and more about using the coil correctly, keeping the surrounding hardware in good condition, monitoring performance, and recognizing when the consumable component has reached the end of its usable life.
Priming, deep cleaning, coil selection, and general coil education each have their own purpose. Keeping this page focused on maintenance and replacement gives those related topics room to answer their own search intent without unnecessary overlap.
Follow the manufacturer's instructions for coil compatibility, operating range, installation, maintenance, and replacement. Stop using damaged or abnormally operating hardware rather than attempting to correct an electrical or battery-related problem through coil maintenance.