 United States
Why Does My Vape Say “Check Coil”? Causes and Troubleshooting
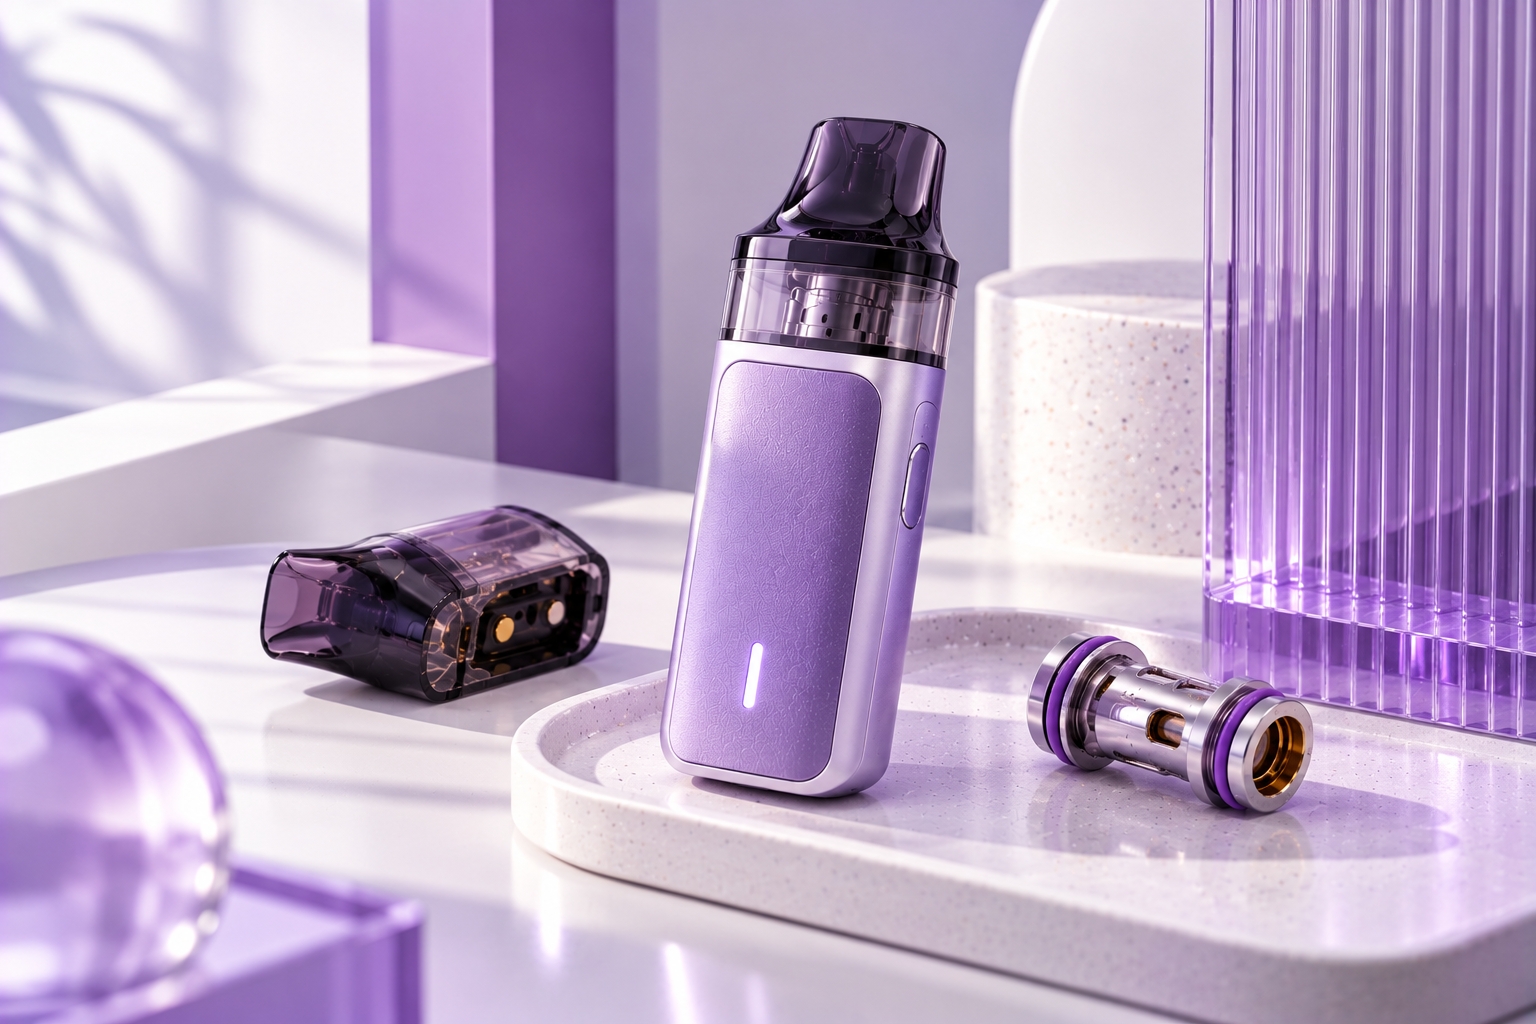
Technical Note: The “Check Coil” message is not standardized across vape devices. Its meaning depends on the manufacturer, model, and chipset. Always consult your device's official manual before troubleshooting. Stop using a device with visible damage, unusual heat, or persistent electrical warnings.
Seeing a “Check Coil” warning on your vape can be confusing, especially if the device was working normally before the message appeared. The warning usually points to a problem involving coil detection, electrical resistance, or the connection between the coil and the device.
If your vape says “Check Coil,” it does not necessarily mean the coil is burned out. Depending on the device, the message may appear when the coil is not properly connected, the pod or tank is not seated correctly, or the detected resistance falls outside the supported range.
For example, the Innokin Sensis documentation describes a “Check Coil” warning associated with an improper tank, pod, or coil connection or unsupported coil resistance. Other manufacturers may use different messages for similar conditions.
This guide explains common causes of the warning, safe troubleshooting steps, and how to distinguish it from related device errors.
What Does “Check Coil” Mean on a Vape?
A “Check Coil” warning generally means that the device has detected an unacceptable or unrecognized condition involving its coil connection or electrical reading.
Regulated vape devices use electronic controls to monitor certain operating conditions. Depending on their design, they may prevent firing when the coil is not detected or when resistance readings fall outside supported limits.
The exact interpretation varies. For example, the Innokin Sensis user documentation identifies connection and unsupported-resistance conditions, while the TW arc Impact manual uses “Check Coil” when an atomizer head is not detected.
These examples demonstrate why the device's official manual is more reliable than assuming every “Check Coil” message has the same cause.
Common Causes of a “Check Coil” Warning
1. An Improperly Installed Coil
In devices with replaceable coils, an incorrectly seated component may prevent the expected electrical connection. The warning may appear after a coil replacement or tank reassembly.
Check whether the coil is installed according to the manufacturer's instructions. Avoid forcing push-fit coils or overtightening threaded components.
2. Poor Contact Between the Pod or Tank and Device
A pod or tank that is not seated correctly may interfere with coil detection. Some devices rely on small electrical contacts to connect the removable component to the main body.
If those contacts are misaligned, contaminated, or damaged, the device may fail to recognize the coil reliably.
3. An Incompatible Replacement Coil
Replacement coils are not universally interchangeable. Compatibility depends on the specific device, coil series, physical connector design, and supported resistance range.
A coil that appears to fit may still be unsuitable for the device. Our coil compatibility guide explains why identifying the correct replacement component matters.
4. Resistance Outside the Device's Supported Range
Some devices display a coil warning when the detected resistance is too high, too low, or otherwise unsupported.
The Innokin Sensis documentation, for example, associates its “Check Coil” warning with certain unsupported resistance readings. This should not be interpreted as a universal resistance threshold for other devices.
Our resistance basics article provides additional background on electrical resistance without replacing model-specific specifications.
5. A Damaged or Defective Coil
A defective coil may produce an unexpected electrical reading or fail to establish a reliable connection. Damage may develop through wear, physical impact, or a component defect.
If the warning began immediately after a coil change, check compatibility and installation first. Do not attempt to repair a damaged factory-made coil by modifying its electrical components.
6. Contaminated or Damaged Electrical Contacts
E-liquid residue, condensation, or debris around accessible contacts may interfere with electrical detection. Physical connector damage can produce similar symptoms.
Only clean components using the procedure approved for your device. Do not insert metal tools, bridge electrical contacts, or introduce liquid into sealed electronics.
How to Troubleshoot a “Check Coil” Warning Safely
The following steps apply only where the manufacturer permits users to remove or inspect the relevant components. Do not dismantle sealed devices.
Step 1: Identify Your Device and Warning Message
Confirm the exact device model and read its manual. Determine whether “Check Coil” refers to a missing connection, unsupported resistance, or another manufacturer-defined condition.
Step 2: Turn Off the Device
Disconnect charging equipment, switch off the device according to the manufacturer's instructions, and allow any hot components to cool before handling them.
Step 3: Verify Coil Compatibility
Compare the installed coil or pod with the manufacturer's supported replacement parts. Confirm the correct coil series and resistance specifications.
Step 4: Inspect Accessible Connections
If permitted, remove the pod or tank and visually inspect the accessible contacts and removable coil. Look for obvious damage, poor seating, or contamination.
If contacts appear damaged, corroded, or distorted, discontinue troubleshooting and contact the manufacturer.
Step 5: Reinstall the Coil or Pod Correctly
Follow the device's installation instructions. Ensure the component is seated correctly without excessive force or overtightening.
Step 6: Consider a Manufacturer-Approved Replacement
If the device manufacturer recommends replacing the coil or pod and the device shows no other safety concerns, use a compatible replacement component.
Geekvape's official troubleshooting guidance similarly identifies replacement components and connector checks as possible steps for certain coil-detection problems. These instructions are model-dependent and should not be applied indiscriminately.
Step 7: Contact Manufacturer Support if the Warning Persists
If the warning remains after approved checks, the problem may involve the device's internal connection or control circuitry. Stop attempting to fire the device and seek manufacturer or authorized service support.
“Check Coil” vs. “No Atomizer” vs. “Atomizer Short”
Different devices may use these warnings to describe related but distinct electrical conditions.
| Warning | Possible Meaning | Recommended Response |
|---|---|---|
| Check Coil | Coil connection or resistance condition requiring attention | Verify the model's instructions, component compatibility, and connection |
| No Atomizer | Atomizer or coil assembly may not be detected | Check the supported pod or tank connection |
| Atomizer Short | Possible short-circuit or resistance-related protection event | Stop firing and follow manufacturer safety guidance |
These descriptions are general examples rather than universal definitions. Some devices use “Check Coil” for conditions that other devices describe as “No Atomizer.”
For more focused information about missing atomizer detection, see our No Atomizer guide.
Can a New Coil Trigger a “Check Coil” Warning?
Yes. A newly installed coil may trigger the warning if it is incompatible, improperly seated, defective, or unable to establish the expected connection.
If the warning appeared immediately after replacing the coil, checking the replacement part's compatibility and installation is a reasonable starting point.
However, the timing alone does not prove the new coil is defective. A connection or device fault may also be responsible.
When Should You Stop Troubleshooting?
Stop using the device if the warning continues despite manufacturer-approved checks or if you notice any of the following:
- Unusual heat or a burning smell
- Visible damage to the coil, pod, tank, or device connector
- Repeated electrical warnings or unexpected firing behavior
- Evidence of moisture intrusion or internal damage
- Any condition that the device manual identifies as requiring service
Do not bridge contacts, modify wiring, disable safety protections, or force the device to operate while an unresolved electrical warning is present.
Preventing Future Coil Detection Problems
Some connection problems can be reduced through appropriate component selection and careful maintenance.
- Use manufacturer-compatible coils and pods.
- Follow the specified installation procedure.
- Avoid overtightening removable components.
- Inspect accessible contacts for damage when appropriate.
- Follow approved cleaning procedures.
- Replace damaged components instead of attempting improvised electrical repairs.
Routine coil maintenance can support general upkeep, but it cannot resolve every electrical or connector fault.
Final Thoughts
A “Check Coil” warning can indicate an improperly connected coil, unsupported resistance, incompatible component, or another coil-detection problem. Its precise meaning depends on the device.
Start with the manufacturer's manual, verify component compatibility, and inspect only user-accessible parts. If the warning persists, contact the manufacturer rather than attempting to bypass the device's protection features.
Sources & Further Reading
- Innokin Sensis Kit User Manual — Reproduced Manual (describes the “Check Coil” warning and connection or resistance conditions; verify against the original manufacturer manual for publication).
- Geekvape Official Support — Atomizer and Coil Detection Troubleshooting (manufacturer guidance for selected devices).
- TW arc Impact User Manual — Reproduced Copy (illustrates a model using “Check Coil” for an undetected atomizer head; confirm against the original manual).
Important Reminder: “Check Coil” warnings and troubleshooting procedures differ between vape models. Always follow your device's official manual. Do not bypass electrical protections or continue using a device with unresolved faults, abnormal heat, or damaged components.