 United States
Pod Leaking? The Real Causes and How to Actually Fix It
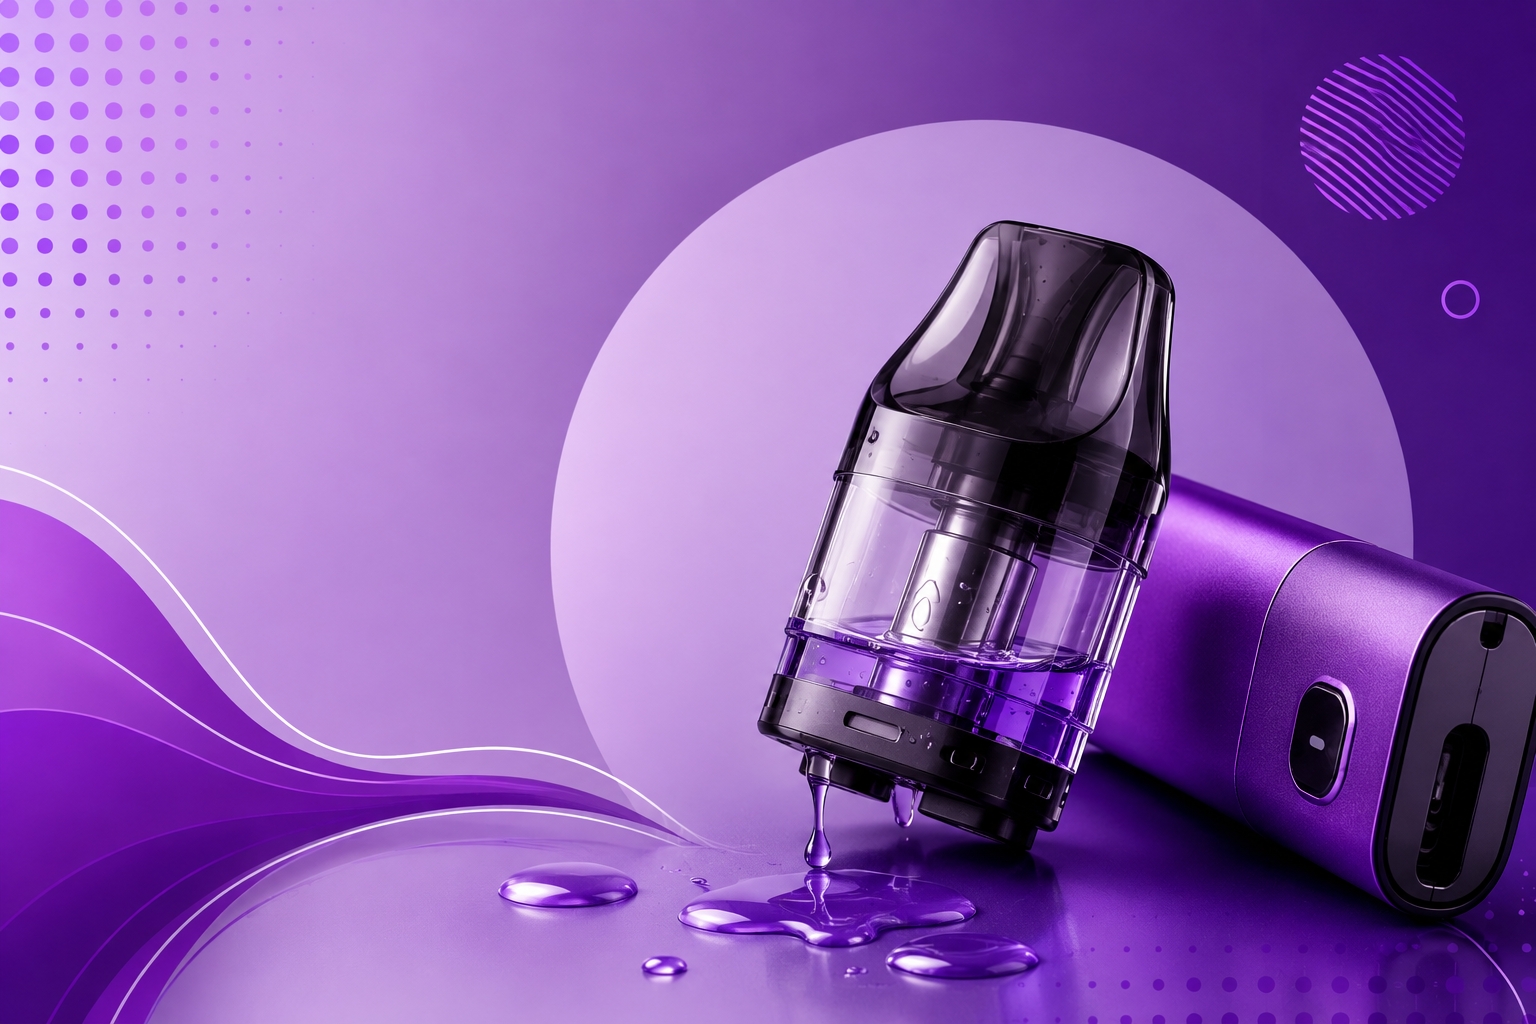
This content is intended for adult vapers of legal purchasing age. Persistent leaking can indicate a damaged pod, worn seal, incorrect setup, or another hardware issue. Stop using the pod if you notice cracks, deformation, or other unusual behavior.
A leaking pod isn't just messy — it can also indicate that something in the pod, fill system, coil, or setup isn't working as intended. Unlike a traditional tank, many pod systems combine the reservoir, seals, and coil into one compact replaceable component, so troubleshooting should focus on the pod's specific construction.
If you're troubleshooting a traditional glass tank with separate O-rings, replaceable glass, and a tank base, the broader tank leaking guide covers that type of hardware instead.
Technical troubleshooting note: Pod systems do not all use the same reservoir, coil, seal, airflow, or filling design. Manufacturer troubleshooting guidance for refillable vaping hardware emphasizes checking seals, coil installation, filling technique, component condition, and the specifications of the installed coil. Use these steps to identify the likely cause, then confirm the correct setup in the instructions for your specific pod system.
Why Your Pod Is Leaking
1. The Pod Was Overfilled or Filled Incorrectly
A refillable pod needs to be filled through its intended fill port and closed correctly afterward. Filling beyond the recommended level or getting e-liquid into the airflow path can lead to leakage or gurgling.
Fix: Follow the manufacturer's fill instructions and maximum level. Make sure the fill plug or cap is completely seated after refilling.
2. The Fill-Port Seal Is Damaged or Misaligned
Many refillable pods use a silicone plug, gasket, or other small seal around the fill opening. Repeated opening and closing can eventually leave a seal stretched, torn, or incorrectly seated.
Fix: Inspect the fill-port seal when refilling. If it no longer closes evenly or is visibly damaged, replace the pod with the correct compatible version rather than forcing the seal into place.
3. The Pod Housing Is Cracked
Pods can develop small cracks after drops, impacts, or repeated use. Because the reservoir is usually part of the pod itself, even a small crack can cause a persistent leak.
Durability features on the device body don't necessarily protect the removable pod from wear or impact. On systems such as the Geekvape Aegis Nano 3 Pod Kit, the pod should therefore be inspected separately from the main device.
Fix: Remove the pod and inspect the reservoir under good lighting. Replace it if you find a crack or deformation.
4. The Pod or Coil Isn't Seated Correctly
Some pod systems use replaceable coils, while others integrate the coil directly into the pod. With a replaceable-coil system, an incorrectly seated coil can compromise the seal. With an integrated-coil pod, wear or damage usually means replacing the complete pod.
Manufacturer troubleshooting guidance also supports checking seal condition and coil seating before assuming the entire device has failed.
Fix: Confirm that the coil and pod are installed according to the manufacturer's instructions. Don't force a component that does not sit correctly.
5. The E-Liquid Doesn't Suit the Installed Pod
Different pod resistances and coil designs can be intended for different operating conditions and e-liquid characteristics. A VG/PG ratio should therefore be matched to the specific pod or coil rather than selected solely because a device is categorized as a pod system.
Refillable systems such as the Vaporesso XROS 6 Pod Kit can support different pod resistance options, making the installed pod an important part of the compatibility check.
Fix: Check the manufacturer's specifications for the exact pod resistance being used. If the leak started after switching e-liquid, compatibility is worth checking before replacing the device.
6. Condensation Is Being Mistaken for a Leak
A small amount of condensation can collect around the pod or mouthpiece during normal use. This is different from a reservoir leak that continually releases e-liquid.
Fix: Remove the pod and wipe the connection area dry. If only a light film returns gradually during use, condensation may be involved. If liquid repeatedly pools or the reservoir level drops unexpectedly, continue checking for a damaged pod, seal, or flooding issue.
7. Adjustable Airflow or Draw Settings Need Checking
Airflow affects how a pod system draws and can interact with the installed pod and e-liquid, but it should not automatically be treated as the cause of every leak. If the system provides adjustable airflow, note whether the problem changes with the setting while also checking the pod condition and fill setup.
For example, the Uwell Caliburn G4 Pro Pod Kit provides airflow adjustment, so that setting can be part of troubleshooting rather than the only variable considered.
Where Is Your Pod Leaking?
| Symptom | Check First |
|---|---|
| Leaks immediately after refilling | Fill level and fill-port seal |
| Liquid underneath the pod | Pod housing, coil fit, seal, condensation |
| Leak began after changing e-liquid | E-liquid and pod compatibility |
| Slow leak from reservoir | Crack, fill plug, damaged pod |
| Liquid near mouthpiece | Overfilling, condensation, flooding |
Quick Pod Leak Checklist
- Confirm the pod was filled through the correct port and within its recommended level.
- Inspect the fill plug, pod shell, and visible seals.
- Remove and reinstall the pod correctly.
- For replaceable-coil pods, verify that the correct coil is seated properly.
- Check whether the e-liquid is appropriate for the installed pod or coil.
- Wipe the pod connection dry so you can distinguish fresh leakage from old residue or condensation.
When It's Time to Replace, Not Fix
Replace the pod rather than continuing to troubleshoot if the reservoir is cracked, the fill seal is torn, the pod is deformed, an integrated coil has reached the end of its usable life, or leakage continues after the pod has been filled and installed correctly.
Keeping the correct replacement pod or coil available can also help isolate the problem. If a properly installed compatible replacement stops the leak, the original pod or coil was likely contributing to it.
What If the Leak Isn't Pod-Specific?
If your setup uses a traditional tank or the leak appears to involve separate tank glass, O-rings, threaded connections, or a tank base, the broader vape tank troubleshooting process is more appropriate than pod-specific fixes.
Bottom Line
A leaking pod usually calls for checking the fill method, fill-port seal, pod housing, coil or pod fit, e-liquid compatibility, and whether you're seeing a true reservoir leak or normal condensation. Because pod designs vary, the manufacturer's instructions for the exact pod should remain the primary reference.
Sources & review note: General leak troubleshooting in this guide was reviewed against current manufacturer support information for seals, coil installation, filling practices, and leaking hardware. Pod construction varies significantly between models, so product-specific filling, coil, airflow, and replacement instructions should always be verified with the manufacturer of the exact device.
Do not continue using a cracked, deformed, or persistently leaking pod. Follow the manufacturer's filling, pod, coil, e-liquid, and replacement instructions, and clean leaked e-liquid from the device before reinstalling a pod.