 United States
Vape Tank Leaking? Here’s Why It Happens and How to Fix It for Good
This content is intended for adult vapers of legal purchasing age. Persistent leaking can indicate a worn seal, incorrectly installed coil, cracked tank, or another hardware issue. Stop using the device if you notice visible damage, overheating, or other unusual behavior.
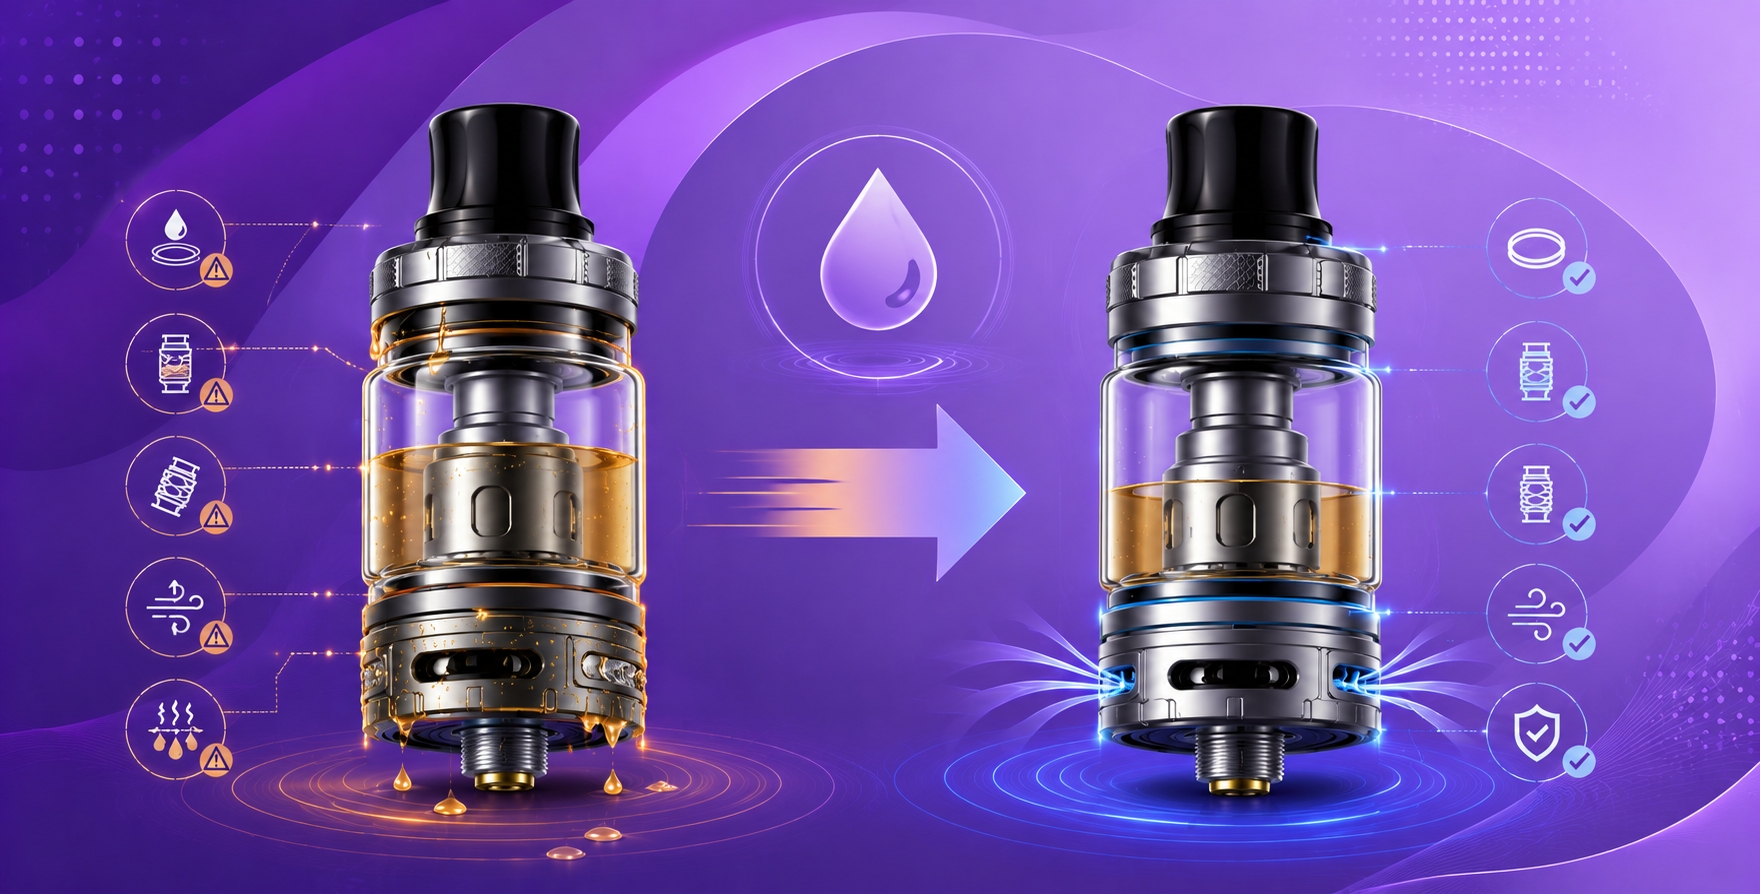
A leaking vape tank can send e-liquid through the airflow openings, around the base, or into other parts of the device. While the location of the leak can offer clues, most tank leaks trace back to a smaller group of issues: filling technique, coil installation, damaged seals, tank assembly, incompatible e-liquid, or changes in temperature and pressure.
This guide covers the broad troubleshooting process for a leaking tank. If you're dealing specifically with a refillable pod rather than a traditional tank, the troubleshooting steps in the pod leaking guide focus on pod seals, integrated coils, pod fit, and pod housing instead.
Technical troubleshooting note: General leak checks in this guide are based on manufacturer troubleshooting guidance for refillable vape tanks. Innokin troubleshooting guidance recommends checking O-rings, seals, glass condition, coil installation, filling technique, and the operating range of the installed coil when diagnosing leaks. Because tank designs differ, always follow the instructions for your exact tank and coil.
Why Is My Vape Tank Leaking?
Start by identifying where the liquid appears and when the leak happens. A leak immediately after refilling points toward a different problem than one that develops after the tank has been sitting unused.
1. Incorrect Filling
Overfilling can allow e-liquid to enter areas that should remain clear or leave insufficient space inside the tank. On tanks with a central chimney, accidentally pouring liquid into the airflow path can also lead to gurgling or leakage.
What to do: Follow the fill method and maximum level specified for your tank. Keep e-liquid out of the central airflow path where applicable, and make sure the fill port or top cap is properly closed afterward.
2. Coil Installation or Coil Condition
The coil and its surrounding seals form part of the tank's liquid-control system. A coil that is loose, incorrectly seated, cross-threaded, damaged, or incompatible with the tank can create a path for e-liquid to escape.
What to do: Remove the tank according to the manufacturer's instructions and check that the correct coil is installed securely and evenly. Replace a visibly damaged or worn coil with the correct compatible replacement.
3. Worn O-Rings, Seals, or Loose Tank Components
O-rings and gaskets help seal the connections between the glass, base, top cap, coil assembly, and other tank components. A missing, flattened, twisted, or damaged seal can allow e-liquid to seep through even when everything else appears normal.
What to do: Inspect accessible seals and connection points. Make sure components are assembled correctly without forcing or overtightening them. Replace damaged seals only with compatible parts intended for the tank.
4. E-Liquid and Coil Compatibility
E-liquid viscosity can affect how quickly liquid moves through a coil's wicking system. However, there is no single VG/PG ratio that is automatically correct for every tank. Coil resistance, power range, wicking design, airflow, and manufacturer recommendations all matter.
What to do: Check the specifications for the exact coil and tank combination rather than relying on a universal VG/PG rule. If leaking began immediately after changing e-liquid, compatibility is one factor worth investigating.
5. Wattage Doesn't Match the Installed Coil
On adjustable devices, the installed coil is designed to operate within a specified power range. If liquid reaches the coil faster than it can be vaporized, flooding and gurgling can occur and excess liquid may enter the airflow system.
What to do: Identify the exact coil installed and follow its specified operating range. Don't assume every resistance option within the same coil family uses the same wattage.
6. Temperature and Pressure Changes
Temperature and pressure changes can affect the liquid and air inside a filled tank. Excessive heat can also affect the device and battery itself.
What to do: Avoid leaving the device in direct sunlight, a hot vehicle, freezing conditions, or other extreme temperatures. The FDA's vape battery guidance recommends protecting vape devices from extreme temperatures and following the manufacturer's recommendations for use and care.
7. Cracked Glass or Damaged Hardware
A hairline crack in the glass, damaged threading, a deformed top cap, or another physical defect can create a persistent leak that adjustments will not solve.
What to do: Inspect the tank under good lighting. If a structural component is cracked or damaged, stop using it and replace the affected component with the correct compatible part.
Where Is the Leak Coming From?
| What You Notice | What to Check First |
|---|---|
| Leak immediately after filling | Fill level, fill port, chimney, top cap |
| Leak around the tank base | Coil installation, base seal, O-rings, glass |
| Gurgling with liquid in airflow | Coil flooding, coil condition, wattage, filling |
| Liquid reaches the mouthpiece while idle | Flooding, seals, storage position, temperature |
| Slow unexplained leak | Glass, O-rings, seals, threading, tank assembly |
If the problem is specifically liquid collecting at or coming through the top of the tank while the device is sitting unused, a leaking mouthpiece can have a narrower set of causes.
Step-by-Step Tank Leak Check
- Check for visible damage. Inspect the glass, top cap, base, seals, and connection points before making adjustments.
- Confirm the tank was filled correctly. Check the fill level and make sure e-liquid did not enter the central airflow path.
- Inspect the coil. Verify that the correct coil is installed securely and that its seals are intact.
- Check the power setting. Use the operating range specified for the exact coil installed.
- Inspect the O-rings. Look for missing, twisted, flattened, or torn seals.
- Consider what changed. A new coil, different e-liquid, recent refill, drop, heat exposure, or storage position can help identify the cause.
How to Reduce Future Tank Leaks
- Follow the tank's specified filling method and fill level.
- Use compatible coils and replacement seals.
- Check the recommended operating range whenever you change coils.
- Inspect O-rings and glass when the tank is disassembled.
- Keep the device away from extreme temperatures.
- Clean leaked e-liquid from the device and connection points before continued use.
When to Replace Instead of Troubleshoot
Troubleshooting makes sense when the problem is caused by filling, coil installation, a replaceable seal, or another correctable setup issue. Physical damage is different.
If the tank glass is cracked, threading is damaged, seals no longer sit correctly, or the tank continues leaking after compatible replacement parts have been installed correctly, stop using the damaged setup and follow the manufacturer's replacement guidance.
Bottom Line
A leaking vape tank usually starts with one of a few areas: filling, coil installation, seals, tank assembly, e-liquid compatibility, power settings, temperature, or physical damage. Start with the location and timing of the leak, then work through those checks systematically rather than changing several things at once.
For more specific symptoms, a pod leaking problem requires checks specific to refillable pod systems, while liquid reaching the top of a tank while it sits idle can be narrowed down as a mouthpiece leak.
Sources & review note: This guide was reviewed against current manufacturer troubleshooting information for tank seals, O-rings, coil installation, filling, and leaking, with device temperature and battery-care guidance referenced from the U.S. FDA. Product designs and specifications vary, so manufacturer instructions for the exact tank and coil should take priority over general troubleshooting guidance.
Do not continue using cracked or damaged hardware or a tank that continues leaking despite correct assembly and compatible replacement parts. Follow the manufacturer's instructions for filling, coil installation, operation, maintenance, and replacement.