 United States
Vape Cleaning 101: How to Maintain a Hygienic and High-Performing Setup
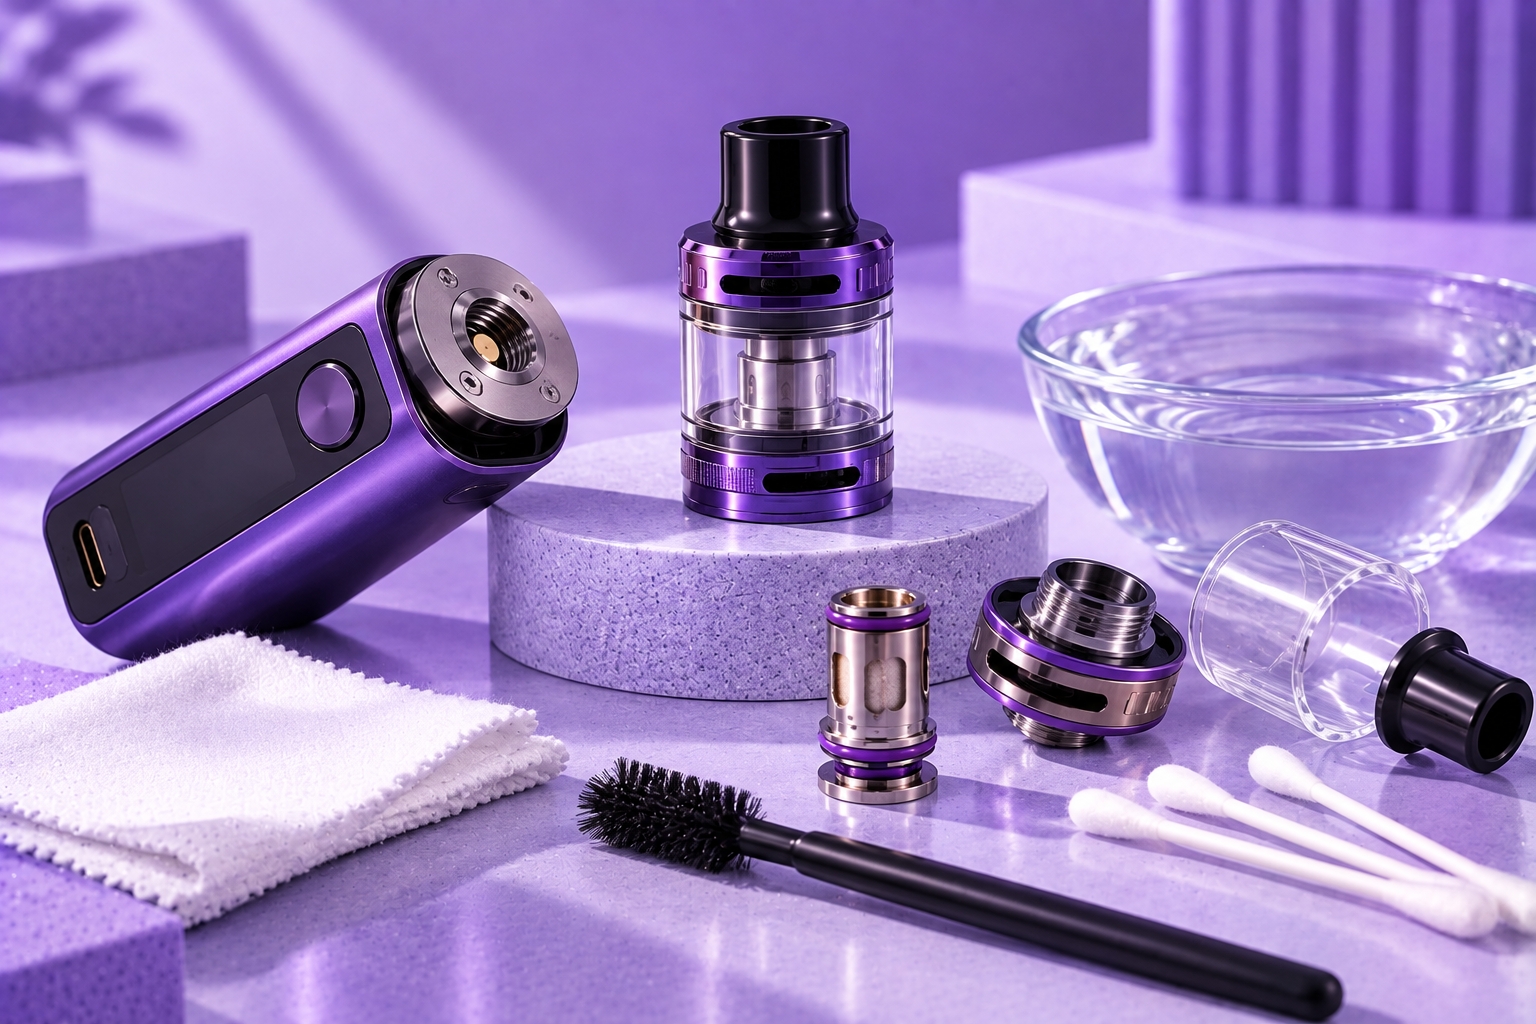
For adults 21+ only. Cleaning methods vary by device. Always follow the manufacturer's instructions before disassembling or cleaning a tank, pod, mouthpiece, or other component. Keep water and cleaning liquids away from batteries, charging ports, chipsets, and other electrical parts.
E-liquid residue, condensation, dust, and debris can gradually collect around tanks, pods, mouthpieces, airflow openings, and connection points. Regular cleaning helps keep these components clear and makes it easier to spot worn seals, leaks, or buildup before they interfere with normal device operation.
This guide focuses specifically on how to clean a vape, including which components can typically be cleaned, what should stay dry, and how to clean tanks, mouthpieces, connection points, and other removable parts. Broader upkeep such as coil replacement, battery care, storage, and routine inspections belongs to ongoing vape maintenance.
Why Cleaning Your Vape Matters
Residue and condensation can collect wherever e-liquid and vapor regularly pass through a device. Depending on the setup, buildup may appear around the mouthpiece, inside a tank or pod, near airflow openings, or around connection points.
Cleaning these areas can help keep airflow pathways clear, prevent old residue from mixing with fresh e-liquid, and make it easier to inspect components for damage or wear. Cleaning is particularly useful when changing flavors, dealing with a spill, or preparing a reusable tank for fresh e-liquid.
What You Need to Clean a Vape
The appropriate cleaning supplies depend on the component and the manufacturer's instructions. For basic external and removable-part cleaning, commonly useful items include:
- Clean microfiber cloth or paper towel
- Cotton swabs
- Warm water for compatible removable components
- Small clean bowl
- Soft-bristle brush for compatible non-electrical parts
Avoid automatically using solvents, detergents, or alcohol on every component. Plastics, seals, coatings, adhesives, and other materials can respond differently to cleaning products. Check the manufacturer's instructions before using anything other than the recommended cleaning method.
Before You Start Cleaning
Turn the device off when applicable and separate removable components according to the manufacturer's instructions. Never submerge a vape mod, integrated battery, charging port, chipset, screen, or other electrical component in water or cleaning solution.
If the device uses a removable battery and the manufacturer instructs you to remove it before cleaning, follow the specified procedure. Damaged, swollen, leaking, or unusually hot batteries require appropriate battery safety precautions rather than being treated as a cleaning problem.
How to Clean a Vape Tank
Reusable tanks often contain several removable parts, so check the manufacturer's instructions before disassembly.
- Disassemble the tank: Remove it from the device and separate only the components designed to be removed.
- Remove the coil: Prebuilt coil heads generally should not be treated like washable tank hardware unless the manufacturer specifically says otherwise.
- Rinse compatible parts: Glass and other water-compatible tank components can be rinsed with warm water when permitted by the manufacturer.
- Remove visible residue: Use a soft cloth, cotton swab, or compatible soft brush where necessary.
- Rinse thoroughly: Make sure no cleaning residue remains on components that will contact e-liquid.
- Dry completely: Allow components to fully dry before reassembly and refilling.
Cleaning also gives you an opportunity to inspect the tank's glass, seals, threads, and O-rings. If leaking continues after cleaning and correct reassembly, the cause may be a worn seal, damaged component, filling issue, or another mechanical problem rather than dirt alone.
How to Clean a Vape Pod
Pod systems vary significantly. Some pods contain integrated coils and are intended to be replaced rather than washed, while other systems have removable components. Follow the manufacturer's instructions for the specific pod.
For routine upkeep, wipe condensation or e-liquid from the outside of the pod and around compatible connection areas using a clean cloth or cotton swab. Avoid introducing water into integrated coil assemblies or electrical contacts unless the manufacturer specifically permits it.
How to Clean the Mouthpiece
Mouthpieces can collect condensation, e-liquid residue, lint, and other debris during normal use. If the mouthpiece is removable and washable, clean it according to the manufacturer's instructions and allow it to dry completely before reinstalling it.
For non-removable mouthpieces, wipe accessible surfaces with a clean cloth or cotton swab without allowing liquid to enter the device.
Should You Clean a Vape Coil?
It depends on the coil design. Standard replaceable coil heads are consumable components and generally should be replaced when they are worn rather than treated like washable tank hardware.
Rebuildable atomizers have different maintenance procedures, but those procedures depend on the specific hardware and build. Follow the manufacturer's instructions rather than applying a universal cleaning or dry-burning method to every coil.
If flavor has become consistently burnt or performance has noticeably deteriorated, cleaning the rest of the device will not necessarily restore a worn coil. Coil condition, e-liquid, power settings, and wicking can all contribute to those symptoms.
How to Clean Vape Connections and the Device Exterior
The mod or battery section should remain dry. Use a clean, dry or manufacturer-approved cloth to wipe the exterior and accessible connection areas.
If condensation or e-liquid has collected around a pod connection or 510 connection, power the device off when applicable and carefully remove visible residue without flooding the contacts or charging port.
If a connection repeatedly becomes wet because the tank or pod is leaking, address the source of the leak rather than relying on repeated cleaning alone.
When Does a Vape Need a Deeper Clean?
A more thorough cleaning may be useful after a significant spill, heavy residue buildup, or a strong flavor change. However, deeper cleaning does not mean every component should be soaked or treated with a solvent.
Only use ultrasonic cleaners, alcohol, detergents, or other cleaning products when they are compatible with the specific component and permitted by its manufacturer. Keep electrical components, batteries, charging ports, screens, and integrated electronics away from cleaning liquids.
How Often Should You Clean a Vape?
There is no single cleaning schedule that applies to every vape. How often cleaning is useful depends on the device design, frequency of use, e-liquid, condensation, flavor changes, and whether leaks or spills occur.
Instead of relying only on a fixed weekly schedule, inspect the device regularly. Visible residue, condensation, restricted airflow, a recent spill, or switching between strong flavors can all be practical reasons to clean compatible components.
Cleaning Problems That May Point to a Different Issue
Cleaning can resolve residue-related problems, but not every performance issue is caused by dirt or buildup.
- Persistent leaking: Check seals, O-rings, filling technique, component condition, and correct assembly.
- Burnt taste: A worn or insufficiently saturated coil may require replacement rather than cleaning.
- Weak vapor: Check airflow, coil condition, power settings, battery condition, and device connections.
- Repeatedly wet contacts: Identify the source of the leak instead of repeatedly wiping the connection.
Cleaning Is One Part of Vape Maintenance
Cleaning removes residue and keeps compatible components clear, but it does not replace broader device upkeep. Ongoing vape maintenance also involves checking coils or pods, inspecting seals and connections, monitoring battery and charging behavior, storing the device correctly, and replacing worn components when necessary.
Keeping these responsibilities separate makes troubleshooting easier: clean when residue or contamination is the problem, and inspect or replace components when the issue comes from wear, damage, or normal service life.
Final Thoughts
A good vape-cleaning routine focuses on the components that actually collect residue while protecting batteries and electronics from unnecessary exposure to liquids. Follow the manufacturer's instructions, clean only compatible components, allow washed parts to dry completely, and inspect the device while it is disassembled.
If cleaning does not resolve a leak, burnt taste, weak vapor, charging issue, or other recurring problem, the underlying cause may require maintenance, component replacement, or device-specific troubleshooting instead.
Do not submerge batteries, mods, charging ports, screens, or other electronic components. Cleaning requirements vary by device, so follow the manufacturer's instructions before disassembling, washing, or applying cleaning products to any vape component.